How-to
How to use a curling iron for beginners
Published
Short answer
Section dry hair, clamp the ends of a 1 inch section, roll the iron up toward the root while keeping it away from your scalp, hold for a few seconds, then open the clamp and slide the iron out. Let each curl cool before you touch it. Holding the iron vertically gives spiral curls; holding it horizontally gives rounder, bouncier curls.
Tools for this job
All 7 picks compared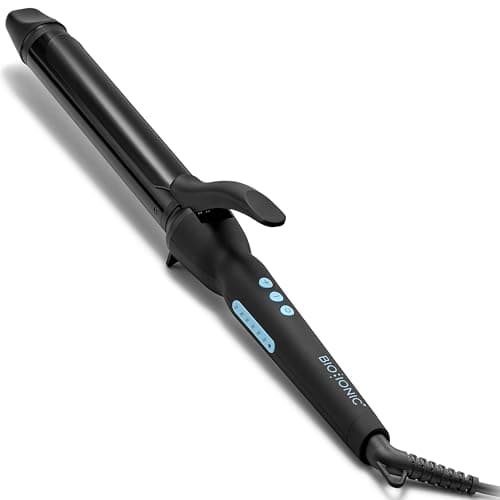
Bio Ionic Long Barrel 1.25": 2" longer barrel, 430°F
See price on AmazonSee it on Amazon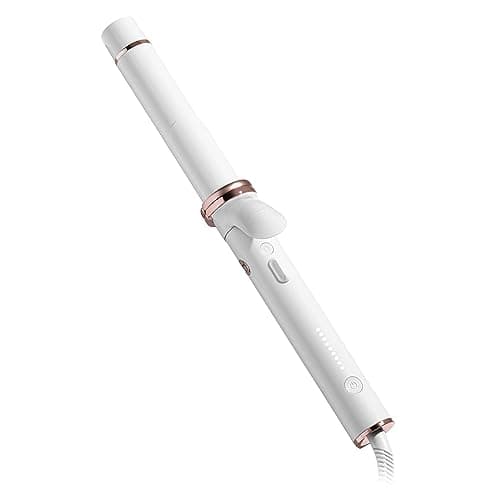
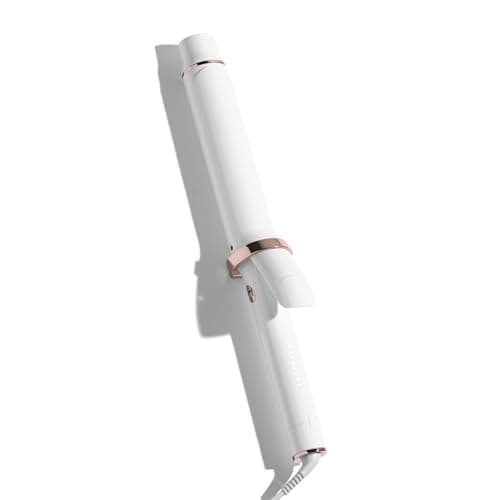
T3 CurlWrap 1.25": auto-rotating barrel, 2 timers
See price on AmazonSee it on Amazon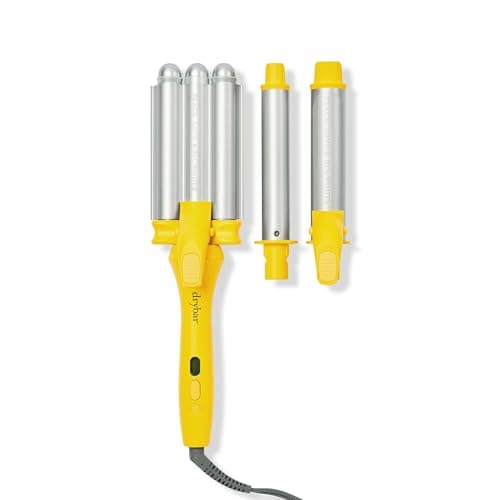
Drybar The Mixologist: iron, wand and waver, up to 450°F
See price on AmazonSee it on Amazon
This guide is for anyone learning a spring clamp curling iron, including the T3, ghd, Bio Ionic and BaBylissPRO models on our lists. It covers setup, the basic clamp and roll, how long to hold, which direction to turn, and how changing the angle of the iron changes the curl. If your curls drop quickly, read why curls fall out. If you are deciding which size to buy, try the barrel size picker or our curling iron guide.
Know the parts of your curling iron
A curling iron has a heated barrel, a spring clamp that holds hair against the barrel, a lever you press to open the clamp, and a cool tip at the end you can hold with your fingers. A wand has no clamp; you wrap hair around it by hand while wearing a glove. The techniques below are for clamp irons, but much of it carries over. For wands, see how to use a curling wand.
Barrel size sets the curl. Around 3/4 inch makes tight curls, 1 inch makes classic curls, 1 1/4 inch makes looser curls and waves, and 1 1/2 inch adds body and big loose waves. Hair should wrap around the barrel about twice for a defined curl, so shorter hair works better on smaller barrels.
Prep and temperature
Start with fully dry hair. Brush out tangles, apply a heat protectant and let it dry. A light texturizing or setting spray on the lengths before curling can help hold in fine or very straight hair.
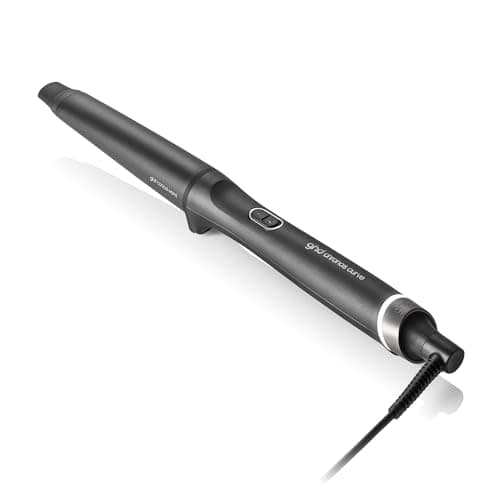
Typical maker guidance for curling is similar to flat irons: lower heat for fine or color-treated hair, middle settings for normal hair, higher for thick or coarse hair. Start low and increase only if curls do not hold. Some irons decide for you: the ghd Curve and Chronos Curve irons hold a fixed 365°F, while the T3 Curl X and Curl ID models have 9 heat settings. The curling iron temperature guide has the full ranges.
Step by step: the basic clamp, roll and release
Practice on the side sections first, where you can see what you are doing in the mirror.
- 1
Divide hair into sections and clip the top layers up. Start at the bottom layer.
- 2
Take a section about 1 inch wide. Thinner sections give tighter, longer lasting curls.
- 3
Open the clamp and place the iron near the ends, with the clamp on top of the hair. Close it gently.
- 4
Roll the iron toward your head, winding hair around the barrel. Stop an inch or so short of the scalp.
- 5
Hold for a few seconds. Fine hair often needs less time, thick hair more. Start short and add time if the curl is weak.
- 6
Open the clamp slightly and slide the iron straight out of the curl without unrolling it.
- 7
Let the curl drop and cool. Do not brush or pull it until all of your hair is done and cool.
How to hold a curling iron for different curls
The angle of the iron changes the shape more than people expect. The same 1 1/4 inch barrel can make polished curls or loose waves depending on how you hold it and whether you leave the ends out.
Vertical, barrel pointing down
- Result
- Spiral, ringlet-like curls that hang down
- Good for
- Long hair, defined curls
Horizontal, barrel parallel to the floor
- Result
- Round, bouncy curls with volume
- Good for
- Retro or blowout-style curls
Diagonal, about 45 degrees
- Result
- Soft curls between the two
- Good for
- Everyday curls
Vertical, last 1 to 2 inches left out
- Result
- Undone, beachy waves
- Good for
- Casual waves
Twist section before wrapping
- Result
- Piece-y, textured waves
- Good for
- Lived-in texture
| How you hold it | Result | Good for |
|---|---|---|
| Vertical, barrel pointing down | Spiral, ringlet-like curls that hang down | Long hair, defined curls |
| Horizontal, barrel parallel to the floor | Round, bouncy curls with volume | Retro or blowout-style curls |
| Diagonal, about 45 degrees | Soft curls between the two | Everyday curls |
| Vertical, last 1 to 2 inches left out | Undone, beachy waves | Casual waves |
| Twist section before wrapping | Piece-y, textured waves | Lived-in texture |
Direction: curling away from or toward the face
Turning the iron away from your face on both sides opens up the face and is the most common salon look. To do this, roll clockwise on the left side of your head and counterclockwise on the right, as seen in the mirror. Curling toward the face frames it more closely.
Alternating direction section by section gives a more natural, less uniform result that tends to blend into waves. Keeping all curls in the same direction gives a more polished, defined look. For beach waves, many people alternate and leave the ends out; how to get beach waves with a curling wand covers that look in detail.
How to use a T3 curling iron
T3 makes several clamp irons. The SinglePass Curl X comes in 1, 1.25 and 1.5 inch barrels with an extra-long barrel and 9 heat settings, according to its listing, so you can curl wider sections in one go. The Curl ID 1.25 inch adds T3 HeatID, which suggests a heat setting from inputs about your hair texture, color and chemical treatment. Pick a setting, wait for the iron to reach temperature, and then use the same clamp, roll and release method above.
The T3 CurlWrap is different: it has a self-rotating barrel and a timer, so the iron turns for you. See rotating curling irons explained and our T3 curling iron guide.
Setting the curls so they last
Let every curl cool completely in its shape before you touch it. Some people pin each curl in a loop while it cools for extra hold. Once everything is cool, finger-comb or gently brush through for softer waves, then use a light hairspray.
If curls still fall, use smaller sections, a slightly smaller barrel, a little more time on the barrel, or a setting product. Hair won't hold a curl walks through each fix.
Note.Use the cool tip only, keep the barrel away from your forehead, ears and neck, and set the iron on its stand between sections. Unplug it when you finish.
Frequently asked questions
How long do you hold a curling iron? Usually a few seconds. Fine hair needs less, thick or coarse hair more. Start short and increase only if curls are weak, since longer contact means more heat exposure.
Why does my curling iron leave a crease? Creases come from closing the clamp hard on the ends or rolling the clamp over itself. Close the clamp gently, keep ends flat under it, and slide the iron out instead of opening it fully.
Should hair be wet or dry before curling? Dry. Curling irons are made for dry hair; damp hair steams and usually does not hold a curl well.
What size curling iron is best for beginners? A 1 or 1 1/4 inch barrel suits most medium to long hair. Use the barrel size picker to match length and look.